Chocolate
October 20, 2015
Triple C Energy Balls


Bikini and shorts season is on the horizon and I am probably not the only one that is a bit self conscious about what has stored up during winter! Lately, I've inserted a few health-kick foods into our diet at home because as much as I love snacking on chips whenever I'm famished, - justifying it with an equalising workout - I know that's not going to help with getting into fighting shape for the summer.
I've been meaning to give these protein balls or energy balls a go for awhile now, and managed to try some at a Boost kiosk right before we boarded our flight to Hawaii. They were simply delicious and I needed to replicate them at home stat!
These chocolate, coconut, & chia seed balls, that I like to call Triple C Energy Balls, hits the spot when you're kinda hungry and low on energy but want a snack without the guilt trip afterwards. There's no sugar, no flour, no eggs, no dairy, none of the traditional baking stuff, which I find odd ...but pretty oddly refreshing!
Jase loves them and I've made them half a dozen times since tinkering around with a few recipes. There's no baking here, you just need a small food processor for blitzing. They should be made in 15 minutes!
Click after the jump for the recipe!
June 25, 2015
A Dark Chocolate Tart made by JLP
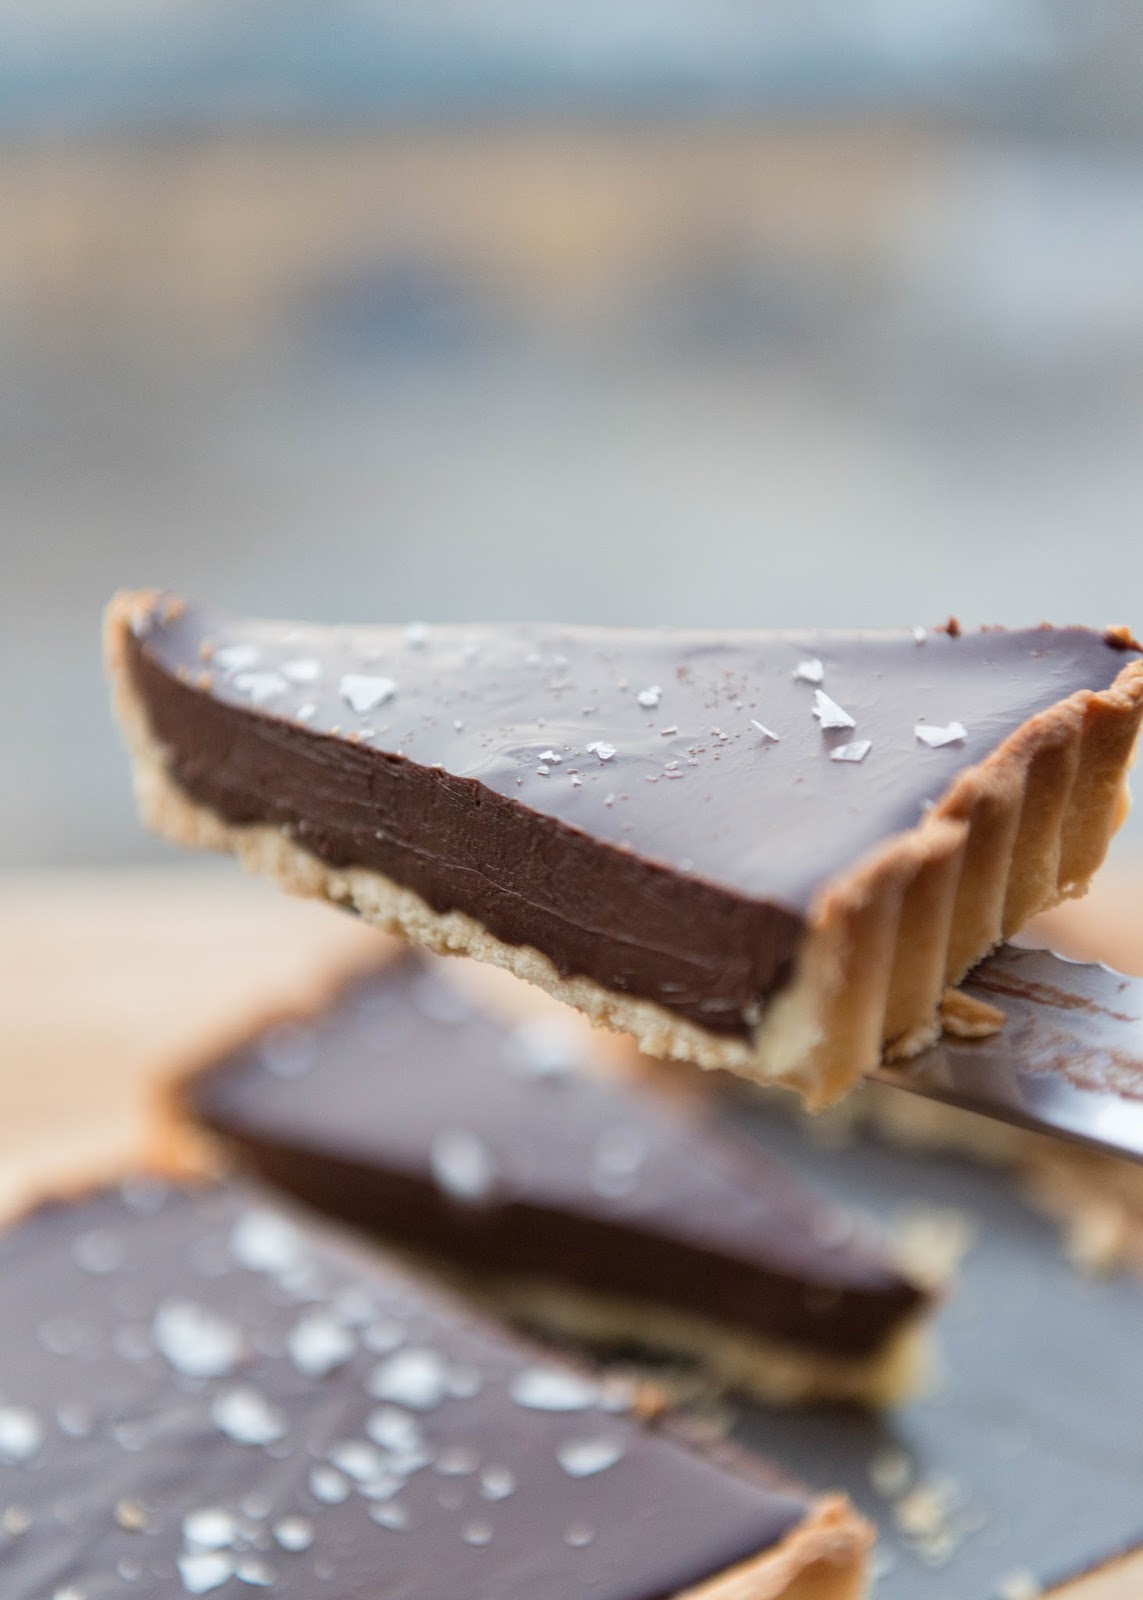
Today's post is brought to you by JLP aka Jason loves pretty aka Jase baked a dark chocolate tart. Follow the link to see which recipe he used for this deliciously more-ish dessert :)


April 02, 2014
Chocolate Lava Cakes with Salted Caramel Goo

In the past, I would always over bake Lava cakes, resulting in a mini chocolate cake that was moist, but with no lovely surprise lava flow. By inserting a salted caramel centre however, you can be sure that the centre will remain gooey and silky, while the liquid cake mixture bakes around it, forming the perfect moist cake casing.
There's not too many ingredients in this recipe and the prep isn't too hard. But have a watchful eye over the baking time and you will have the most perfect chocolatey caramel dessert!
November 06, 2013
Almond Roca Bark

I would always run to nag Dad to buy me sweets if Mum didn't let me have any. I distinctly remember a time when I was around 5, he went out to get the paper from a local Dairy store and I ran out to jump in the car. He treated me to a Cadbury Flake, but because it was such a large bar of chocolate, I couldn't eat it in time before we got home. So we hid behind the garage, and Dad stood next to me while I tried to eat it as fast as I could (I was and still am, the slowest eater you will know). In the end I couldn't finish it in time before Mum would question where we went, so half a Cadbury flake ended up in a bucket next to the garage.
For the lollies and sweets that I were allowed under 'Mum's rule', Almond Roca was always one of my favourites. It conjours up Christmas memories, that beautiful pink and crimson tin, the little oblong shaped matte gold wonders were my absolute FAVE. No wonder I have an obsession with anything caramel and butterscotch.
After attempting several recipes that I found online, and failing at getting the right butterscotch, nutty crunch, I finally meshed up some good measurements for a version of my own that is easy to remember and quick to make.

Almond Roca Bark Recipe
Preparation time: 5 mins
Cooking time: 10 mins
Cooling time: 1 hr in the fridge, or just leave overnight
Ingredients
- 250gm Salted Butter [or 1 Cup]
- 250gm Caster (Superfine) Sugar [or 1 Cup]
- 150gm Dry Roasted Almonds, chopped
- 50ml water
- 30ml light corn syrup (or you can substitute with glucose syrup, but add a tablespoon extra water)
- 1/4 tsp Baking Soda
- 100gm Dark Chocolate (preferrably 66% cocoa), chopped into small pieces
- Toasted Shredded Coconut for sprinkling (optional) - shredded coconut can simply be done by placing a handful in a frying pan over a low heat for around 3-5 minutes until toasty brown.
- Medium saucepan
- Candy thermometer
- Lined Baking tray / Lined Baking dish (I used a 12"x8" baking tin, but you can use whatever flat metal surface you like, up to you how thin or thick you would like it! Obviously a smaller tin would make a thicker chunk and would take a longer cooling period)
- Small Spatula
Steps
- Place the butter in a medium saucepan over a low heat until fully melted. Once melted, mix through the sugar, water and corn syrup
- Clip on your candy thermometer and turn the heat up high, until the mixture starts boiling (whisk the mixture if need be, but you should be able to leave it) and have half of the chopped almonds and measured Baking soda on standby.
- Turn the heat down a little (to prevent the mixture boiling over), and let the mixture boil away until your candy thermometer reaches 300 deg. Fahrenheit (or 150 deg. Celsius, or the 'hard crack' stage as indicated by the Candy Thermometer). This is roughly around 10 minutes on the clock, so set your timer if you need to.
- Place the other half of the chopped almonds at the bottom of the lined tray.
- Once the mixture bubbles to the final 300 deg. Fahrenheit point on the thermometer, it should be a beautiful amber colour. Take the saucepan off the heat once you've reached the right temperature or 10 minutes is up, and whisk through the chopped almonds and baking soda.
- Swiftly lay out the almond butterscotch liquid mixture onto the almond lined baking tray and spread out evenly with a small spatula.
- Sprinkle over the chopped chocolate, wait a few minutes for these to melt then spread out evenly with your spatula
- Sprinkle over the toasted coconut and place in fridge for an hour or until hardened. Break up with a large knife and munch!


Just a word of warning though, you may want to munch on the whole block!
Enjoy!
X
October 29, 2013
Hokey Pokey For Your Sweeties
Hope you all had a great weekend! Aside from attending a charity Trivia night on Saturday, and a nice long birthday lunch afternoon on Sunday, I did also have quite a long Saturday afternoon of failed attempts at making Almond Roca... that turned into Almond Roca FUDGE. And as I actually had an aspiration to make a good friend something homemade for his birthday, I couldn't let the multiple throw outs get me down. Lucky for me, I remembered a fellow good blogger friend of mine, Rachael from Made From Scratch had recently posted a quick Hokey Pokey recipe.
So within a jiffy, I tripled her recipe, waited for the honey comb to cool and drizzled over some dark 70% Lindt Chocolate. Within about half hr, I had a present made and ready on the day I wanted to gift it.

Prep time: 1 minute
Cooking time: 2.5 minutes
Cooling time: 1 hr / 25-30 minutes in the fridge
Ingredients:


 In the spirit of Halloween, I decided to serve up the Almond Roca candy and another fresh batch of Hokey Pokey to the peeps at work today. When I took some of this stuff to work, no one (except for the one kiwi in my team) knew what Hokey Pokey was. It's not just a kiwi term, I've found it's actually a Cornish term for Honeycomb!


 Although Jase's work peeps and my work peeps loved the Almond Roca fudge, I can't get the real butterscotch crunch off my mind. Once I master the art of Almond Roca I'll be sure to post up the recipe!
X
So within a jiffy, I tripled her recipe, waited for the honey comb to cool and drizzled over some dark 70% Lindt Chocolate. Within about half hr, I had a present made and ready on the day I wanted to gift it.
Hokey Pokey recipe
Tripled recipe from Made From ScratchPrep time: 1 minute
Cooking time: 2.5 minutes
Cooling time: 1 hr / 25-30 minutes in the fridge
Ingredients:
- 15 TBSP White Caster (Superfine) sugar
- 6 TBSP Golden Syrup
- 3 tsp Baking Soda
- 100gm block 70% Lindt Dark Chocolate, melted
- Small Whisk
- Lined baking tray
- Spatula
- Measure out all your ingredients, and ensure your baking soda is on standby
- Combine the Sugar and Golden Syrup in a medium saucepan on low heat, then turn up the temperature until the mixture is bubbling away for 2 minutes. Whisk the mixture to ensure the mixture doesn't burn
- Once 2 minutes is up, turn off the heat, pour in the baking soda and whisk away really quick to combine thoroughly.
- Pour out the mixture over your lined baking tray. I liked having the mixture in globs on the tray so that there was a good height to the honeycomb, however you can spread out the mixture evenly with a spatula
- Wait till the hokey pokey is fully cooled, drizzle over the melted dark chocolate and place in the fridge to cool until hardened.
- Break up the pieces and serve in anyway you like, or bottle up the shards of hokey pokey in an airtight jar. Don't wait too long to devour the whole lot :) And also don't store in a humid place!
X
Subscribe to:
Posts (Atom)


